Deforms geometry to add wrinkles. Version 1.0
Overview :
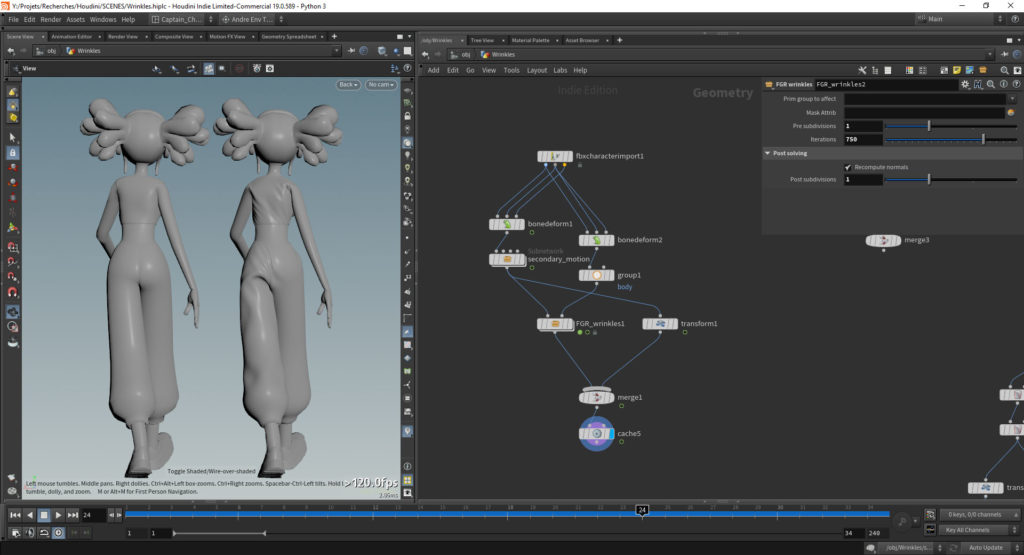
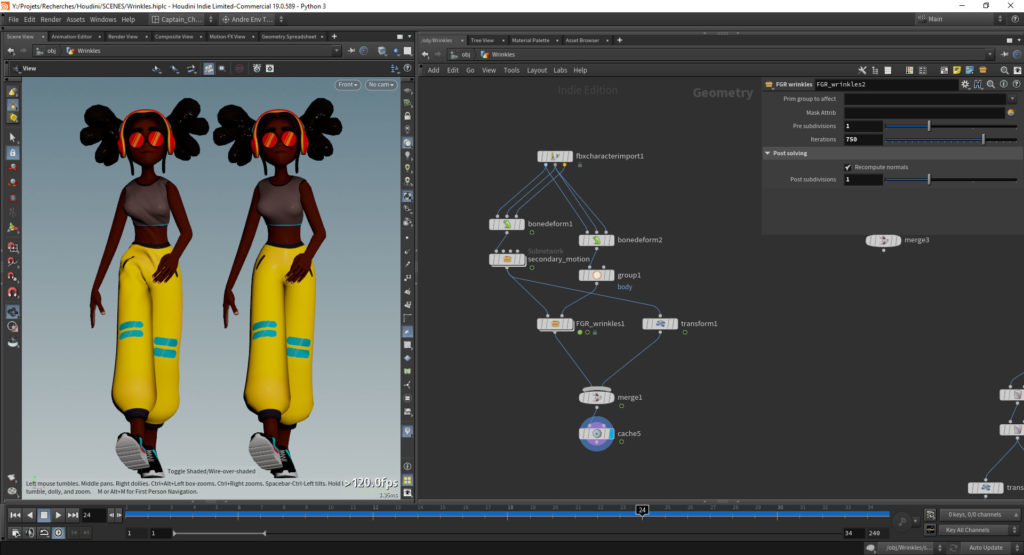
This node create wrinkles on clothes, skin or any point mesh. It uses an openCL solving to deform constraints generated from the rest pose. And then deforms the animated mesh according to the constraints.
Like what you see ? You can download or learn to re-create our tool through the links below.
Parameters :
Prim group to affect : Specifies which primitives on the input 1 to deform. Only thoose primitives will get wrinkles.
Mask attrib : Specifies the point attribute that is used as a Mask to scale the deformation on each point.
Pre subdivisions : Add subdivision(s) to the mesh before adding wrinkles. Usefull to get more wrinkles on a low def mesh.
Iterations : It’s the number of times the openCL deformation get solved.
A good start is 100, usually to get a finer result you can push this to 1000. Really high values can deform the mesh bakc to it’s rest pose while too low values won’t do much deformation. Higher values will reduce performance.
Post Solving
Recompute normals : When enabled, the normal attribute will be modified to match the deformation based on the cusp angle.
Cusp angle : When computing vertex normals, if normals of vertices around a single point are less than or equal to this angle (in degrees) apart from each other, they will be averaged together, weighted by the vertex angle in each polygon.
Post subdivisions : Add subdivision(s) to the mesh after adding wrinkles. It can be slow but interesting to add subdivisions after the deformation to smooth the wrinkles.
Inputs :
Input 1 : Animation or in position mesh.
Input 2 : Rest pose mesh.
Input 3 : Not used yet. Will be used in the future for collisions.
Output :
Output 1 : Wrinkled animation or in position mesh.
Examples :


This tool is mainly inspired by the great work of Guillaume Baratte